How to Read the Damage Before Deciding
Before picking up a putty knife or calling for materials, spend a few minutes assessing the damage honestly. Press gently around the affected area - sound drywall feels firm and doesn't flex or crumble. Soft spots, a papery surface that lifts away, or any visible discoloration suggesting moisture are warning signs that a surface patch alone won't solve the problem.
For holes, size matters in a practical way. Nail pops and small dents (under roughly 1 inch) are straightforward spackling jobs. Holes between 1 and 6 inches typically call for a backing patch or a peel-and-stick mesh patch followed by joint compound. Damage larger than 6 inches generally benefits from cutting out a clean section and fitting a new piece of drywall between studs - though this still isn't a full panel replacement.
Cracks deserve their own evaluation. A single hairline crack along a seam or corner is usually cosmetic; re-tape and mud it. A pattern of cracks spreading from window or door corners may point to settling - worth monitoring before committing to any repair, and worth discussing with a contractor if it's worsening. See our guide to common DIY myths for more on why skipping that assessment step can cost more later.
| Criterion | Drywall Repair (Patching) | Drywall Replacement |
|---|---|---|
| Typical cost (materials) | Under $30 for patch kits and compound | $15-$60+ per panel plus finishing supplies |
| Time to complete | 2-4 hours plus drying time | Half day to full day plus finishing days |
| Skill level required | Beginner to intermediate | Intermediate; finishing takes practice |
| Best damage size | Under ~6 inches; contained cracks | Large areas or multiple damage points |
| Water/mold damage | Not appropriate - patch won't hold | Required; removes compromised material |
| Finish quality potential | Good if texture-matched carefully | Excellent with proper finishing technique |
| Disruption to room | Minimal dust and debris | Moderate; drywall cutting creates dust |
When Patching Makes Sense - and How to Do It Well
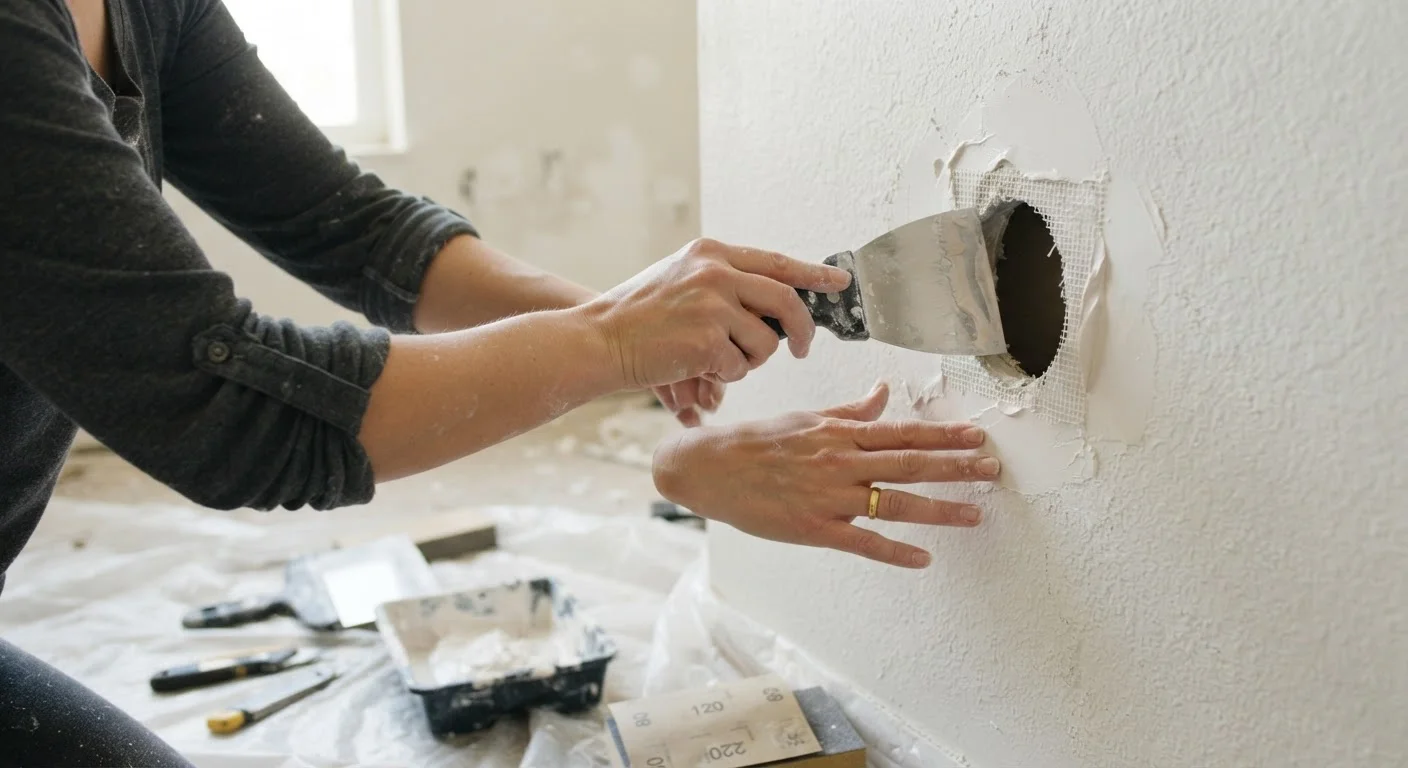
Patching is the right call when the drywall core is intact, dry, and free of mold. The process involves three main steps: creating a stable backing for the patch, building up joint compound in thin layers, and blending the texture to match the surrounding wall.
For holes up to about 4 inches, a self-adhesive mesh patch placed over the hole gives the compound something to grip. Apply joint compound in at least two thin coats, letting each dry fully before sanding lightly. Rushing coats or applying them too thick leads to shrinkage cracks - the most common reason a patch looks worse after drying than it did wet.
Texture matching is where many DIYers struggle. Smooth walls are forgiving with careful sanding; orange-peel or knockdown textures require practice with a spray can or a sponge technique. If your walls have a heavy hand-applied texture, test your approach on a scrap piece before committing to the repair area. Once you're ready to paint, common painting mistakes can undermine even a well-executed patch - priming the compound before painting is non-negotiable.
~6 inches
Hole size threshold favoring patch over cut-in
Industry finishing guides generally treat holes above 6 inches as candidates for a cut-in drywall section rather than a surface patch alone.
3+ coats
Joint compound coats for a seamless finish
Drywall finishing professionals typically apply at least three progressively feathered coats of compound to achieve invisible seams and patches.
24-48 hrs
Drying time between compound coats
Joint compound must dry fully between coats - rushing this step is a leading cause of shrinkage cracks and visible patch lines.
When Replacement Is the Smarter Investment
Full panel replacement becomes the more practical path in three situations: when moisture has compromised the gypsum core, when mold is present anywhere in the panel, or when damage is scattered across enough of the sheet that patching multiple spots would take as long as swapping the whole panel.
Replacing a full sheet of drywall involves cutting back to the nearest studs on both sides of the damaged area, removing the old panel carefully, and fastening a new panel to the existing framing. This is generally within DIY reach for standard interior walls, but work involving electrical wiring, plumbing inside the wall, or any load-bearing considerations should be handled by a licensed professional. Always check whether your local jurisdiction requires a permit for significant drywall work, particularly if it's part of a larger renovation. Deciding between DIY and a contractor covers the key questions to work through before you start.
After hanging new drywall, finishing - taping seams, applying multiple coats of compound, and feathering edges - is time-intensive. Budget at least two to three days for finishing and drying before the surface is ready to prime and paint. The silver lining: a freshly replaced panel, properly finished, can look cleaner than a wall full of old patches.
This article is for general informational purposes only. For electrical, structural, or safety-related concerns behind walls, consult a licensed contractor or inspector before proceeding.