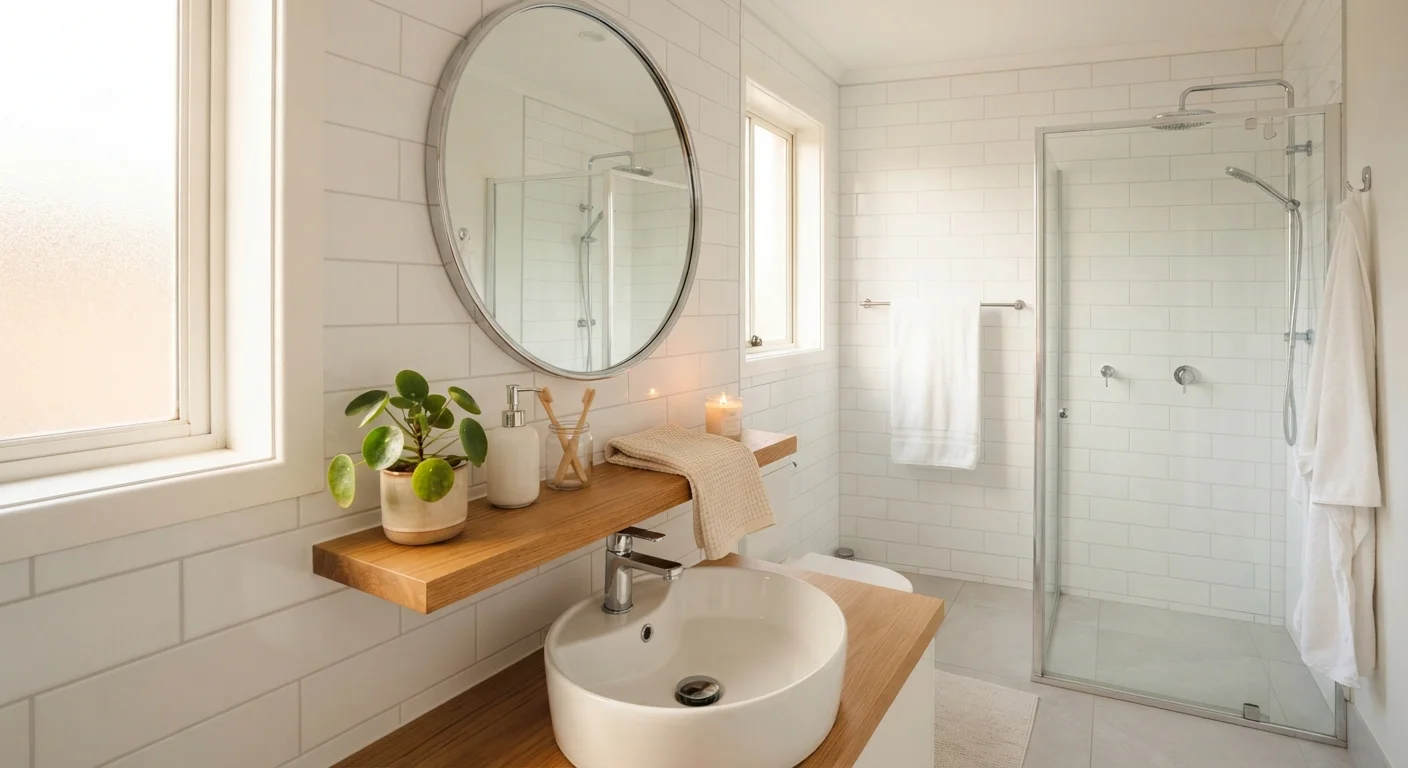
Why a Full Renovation Isn't Always the Answer
A full bathroom gut-renovation can cost tens of thousands of dollars and displace your household for weeks. For many homeowners, the bathroom doesn't need to be rebuilt - it needs to be refreshed. Worn grout, dated fixtures, poor lighting, and mismatched accessories are cosmetic problems with cosmetic solutions.
These targeted updates are also where smart spending pays off. If you're curious which DIY improvements translate to real value when it's time to sell or refinance, see our guide to weekend projects that add home value. The bathroom is consistently one of the rooms buyers notice most.
Before diving into steps, take stock of what actually bothers you about your bathroom. Discolored grout? A faucet that looks 20 years old? Dim overhead light that makes everything look dingy? Identifying the real culprits keeps the project focused and the budget manageable.
What you will need
What You'll Need Before You Start
Gathering materials before you begin saves time and prevents mid-project hardware runs. The tools below cover the full range of projects in this guide - you likely won't need every item for every task.
Grout brush or stiff-bristle toothbrush
Scrubbing grout lines clean before applying any colorant or sealer.
Grout pen or grout colorant
Restoring discolored or stained grout lines to a fresh, uniform appearance.
Caulk gun and tub-and-tile caulk
Replacing cracked or moldy caulk lines around the tub, shower, and sink.
Adjustable wrench and screwdrivers (flathead and Phillips)
Removing and installing faucet hardware, towel bars, and light fixtures.
Painter's tape
Protecting wall surfaces when applying grout colorant or caulk near edges.
LED vanity bulbs
Replacing old incandescent or cool-white fluorescent bulbs with warmer, more flattering light.
If you're new to DIY home projects entirely, our beginner's guide to your first DIY project covers tool safety and realistic expectations before you pick up a screwdriver.
Step-by-Step: Refreshing Your Bathroom
Work through these updates in order. Grout and deep cleaning always come first - there's no point installing new hardware over a grimy surface. Lighting and accessories come last once the foundational work is done.
Deep-clean all surfaces and assess grout condition
Before any cosmetic update, scrub tile, grout lines, the tub surround, sink, and fixtures with an appropriate bathroom cleaner. Let the room dry completely - at least two hours - before evaluating what actually needs fixing versus what was just dirty. You may find the grout looks significantly better once clean.
Re-caulk around the tub, shower, and sink
Use a utility knife or oscillating tool to carefully remove all old caulk. Wipe the joint thoroughly with rubbing alcohol and let it dry before applying new tub-and-tile caulk. Apply in one steady bead, smooth with a damp finger or caulk tool, and allow to cure fully before exposing to water - typically 24 hours. Check the product label for exact cure times.
Refresh or recolor grout lines
If grout lines are clean but discolored or stained, a grout pen or brush-on colorant can restore a uniform appearance. Tape off the surrounding tile to keep lines clean. Apply the colorant per product instructions, wiping excess off tile surfaces before it dries. For more extensive tile work or surface prep questions, see our overview of tile installation for DIYers.
Replace the faucet, towel bars, and toilet paper holder
Hardware swaps have an outsized visual effect for relatively low effort. Shut off water supply valves beneath the sink before removing a faucet. Use an adjustable wrench to disconnect supply lines and loosen the mounting nut. Install the new faucet following the manufacturer's instructions, hand-tightening connections before using a wrench for the final quarter-turn. Towel bars and toilet paper holders typically mount with wall anchors - use the included template for accurate placement.
Upgrade vanity lighting or swap bulbs
Replacing a vanity light fixture is within DIY reach if you are comfortable turning off the circuit breaker and working with basic wire connections. If you are not confident working with electrical wiring, hire a licensed electrician. At minimum, swap existing bulbs for LED bulbs with a color temperature around 2700-3000K, which produces a warmer, more flattering light than cool-white options. This single change costs very little and affects how the entire room looks and feels.
Add or update accessories and storage
A framed mirror, a small floating shelf, or a coordinating set of towel hooks can pull a refreshed bathroom together without touching a single tile. Measure carefully before purchasing. Use wall anchors rated for the weight of what you're hanging, and locate studs where possible for heavier items. Decluttering and organizing existing storage has zero cost and often makes the biggest immediate difference in how spacious the room feels.
Start with the Grout - Always
Homeowners frequently skip straight to hardware or accessories and then wonder why the bathroom still looks dated. Clean, uniform grout lines are the foundation everything else builds on. Prioritize grout cleaning and caulk replacement before spending money on anything else - you may find that's the only update the room needed.
Common Pitfalls to Avoid
Even straightforward projects go sideways when homeowners skip surface prep, rush drying times, or underestimate how much a single mismatched finish can undercut an otherwise cohesive update. Matching metal finishes across towel bars, faucets, and light fixtures - even approximately - makes a bigger visual difference than most people expect.
It's also worth understanding which DIY beliefs can lead you in the wrong direction. Our article on common DIY home improvement myths addresses several bathroom-relevant misconceptions, including when skipping permits actually matters.
Match Finishes Before You Buy
Mixing metal finishes - chrome faucet, brushed nickel towel bar, matte black hooks - creates visual clutter that undermines every other improvement. Before purchasing any hardware, photograph your existing pieces and compare finishes side by side in-store or against product photos. Returning hardware after installation often voids return policies.
For projects that go beyond cosmetic work - such as moving a light switch, replacing a GFCI outlet, or altering plumbing - consult a licensed electrician or plumber. Permits and inspections may be required depending on your municipality; always verify local requirements before starting any work that touches wiring or water supply lines.