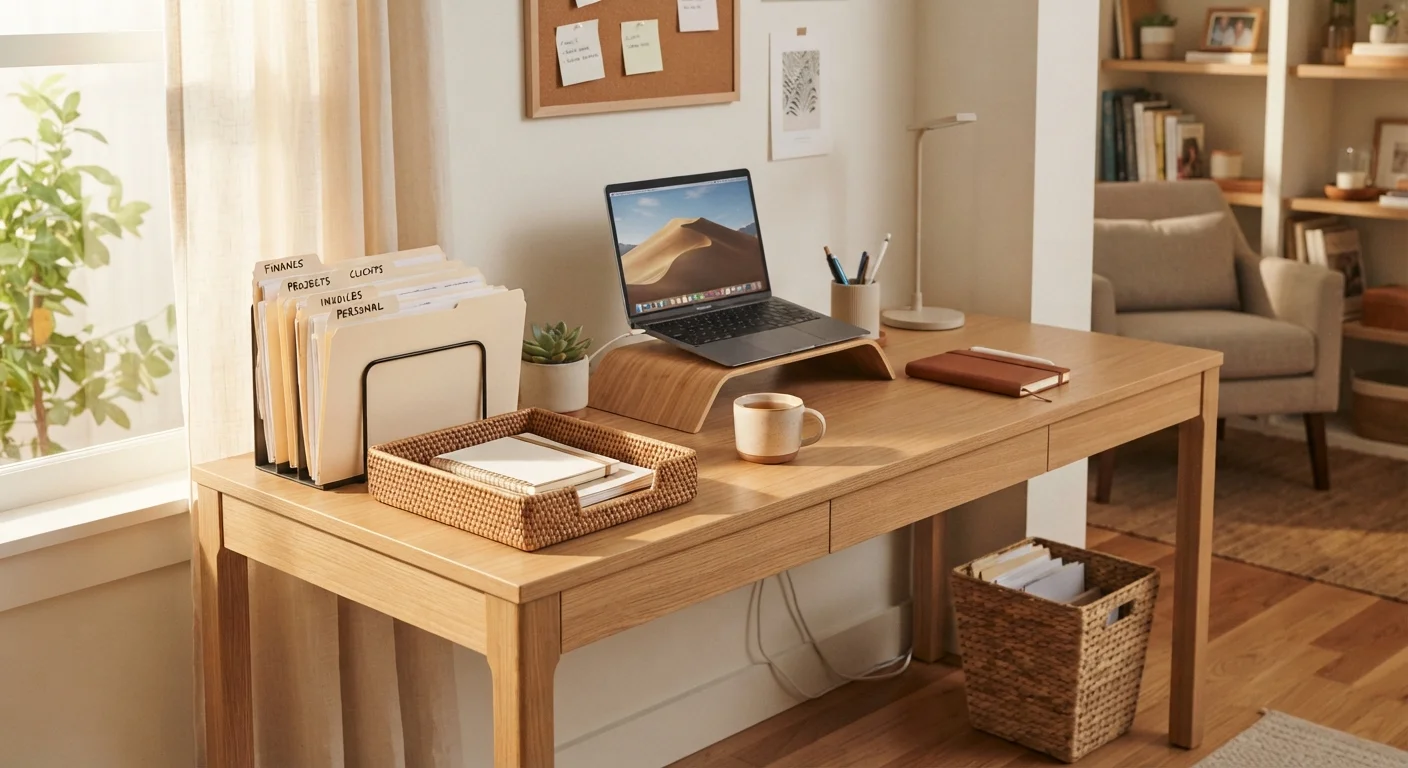
Why Paper Clutter Feels Endless
Paper accumulates because most of it arrives without a natural home. Mail comes in daily; school forms appear mid-week; receipts get shoved into pockets. Unlike physical objects, paper is thin and stackable - easy to set aside, easy to forget. By the time the pile becomes visible, it represents weeks of deferred decisions.
The good news: paper clutter responds quickly to even a basic system. You don't need specialized furniture or expensive organizers to get it under control. What you need, as this guide on decluttering before organizing explains, is to clear the backlog first before installing any lasting system.
Go Paperless at the Source
The fastest way to reduce paper clutter is to stop unnecessary paper from arriving. Switch utility bills, bank statements, and subscription notices to electronic delivery. Opting out of unsolicited mail through official mail preference services can also meaningfully reduce incoming volume over time.
Once you've worked through the steps below, you'll have both an empty starting point and a structure that keeps paper from piling up again.
What You'll Need Before You Start
This project requires minimal materials, most of which you may already have at home. The goal is to keep costs low while building a system that genuinely holds up.
What you will need
Cross-cut shredder
Safely destroys documents containing sensitive personal or financial information before disposal.
Accordion file or hanging file box
Stores categorized documents in labeled sections for easy retrieval.
Label maker or marker and adhesive labels
Clearly marks folders and categories so every household member can use the system.
Desktop inbox tray
Serves as a dedicated landing zone for all incoming paper, preventing spread across surfaces.
Smartphone scanner app
Captures digital copies of documents you want to retain without keeping the physical paper.
Shred Before You Discard
Documents containing your full name, address, Social Security number, account numbers, or signatures should never go into the recycling bin as-is. Cross-cut shredding is the safest disposal method for sensitive paperwork. If you don't own a shredder, many office supply stores and community events offer periodic shredding services.
Step-by-Step: Clearing and Organizing Your Paper
Follow these steps in order. Jumping ahead to filing before sorting, or setting up folders before you know what you have, tends to produce a system that doesn't quite fit your actual paper volume or needs.
Gather every piece of paper into one place
Before any sorting can happen, you need a complete picture of what you're dealing with. Collect paper from every surface it has settled on - countertops, drawers, windowsills, the kitchen table, bags, and any other spots in the home. Bring it all to your designated work surface in one pile. Resist the urge to sort as you collect; that comes next.
Sort into four simple categories
Work through the pile one sheet at a time and place each piece into one of four groups:
- Act: Requires a response, payment, or action within the next 30 days.
- File: Worth keeping for reference - warranties, tax documents, insurance paperwork, medical records.
- Recycle: No action needed, no sensitive data - junk mail, catalogs, expired coupons, packaging inserts.
- Shred: No longer needed but contains personal identifiers that warrant secure disposal.
When unsure whether to file or shred a document, err toward filing temporarily; you can always purge later with more confidence.
Set up a simple filing structure
An effective home filing system doesn't need to be elaborate. Broad categories work better than highly granular ones, which tend to collapse under daily use. Suggested labels include: Taxes & Finance, Insurance, Medical, Home & Utilities, Warranties & Manuals, and School & Work. File everything from your "File" pile accordingly. For households managing shared paperwork, see how organizing for multiple occupants can inform your category choices.
Digitize what you can
Many documents you feel obligated to keep physically can be scanned and stored digitally, freeing up considerable drawer and shelf space. Receipts, owner's manuals (often available on manufacturer websites), and reference documents are strong candidates for digitizing. Use a smartphone scanning app to capture clear images and save them to a labeled folder on a cloud storage service or a local backup drive. Once confirmed, the originals can typically be recycled or shredded.
Establish a landing zone for incoming paper
The reason paper clutter returns is almost always the same: there's no defined home for incoming documents, so they land wherever there's space. Place a desktop inbox tray in a consistent, accessible spot - near where mail enters the house works well. Every piece of incoming paper goes directly into this tray. Nothing else goes in it. This single habit contains the spread before it starts. For a broader look at how functional zones like this fit into home organization, the zone method guide offers a useful framework.
Schedule a brief weekly paper review
Once a week - Sunday evening or Monday morning both work well - spend five to ten minutes processing whatever has accumulated in the inbox tray. Apply the same four-category sort. Act on anything time-sensitive, file what needs keeping, recycle and shred the rest. Keeping this rhythm prevents the slow accumulation that turns a manageable inbox into an overwhelming stack. For reinforcing this as a lasting habit, habits-first organizing strategies are worth exploring.
Don't Discard Documents You May Still Need
Before purging any financial or legal documents, verify how long you're expected to retain them. The IRS generally recommends keeping tax records for at least three years, though some situations call for longer. When in doubt about a specific document's retention period, consult a financial or legal professional rather than guessing.