Why a Pre-Purchase Inspection Matters
Used vehicles are sold in wildly different conditions, and sellers — private or dealer — are not required to disclose every known issue in most US states. A pre-purchase inspection (PPI) shifts the information balance back toward you.
This checklist is designed to work in two phases: a self-directed walkthrough you can do during a test drive appointment, and a professional mechanical inspection you arrange separately. Neither replaces the other. Your visual and functional checks help you decide whether a vehicle is worth paying for an independent mechanic's assessment. The mechanic's report then gives you the documented leverage to negotiate, walk away, or proceed with confidence.
If you haven't yet secured financing, consider completing that step first. Understanding your approved rate and loan ceiling — covered in our guide to getting pre-approved for an auto loan — ensures that any repair costs you factor into negotiations don't push you past a manageable total.
Flashlight
Illuminates the engine bay, undercarriage, and interior floor areas during your visual inspection.
Pocket magnet
Detects body filler used to conceal collision or rust damage beneath painted panels.
Tire tread depth gauge
Measures remaining tread depth accurately across the tire width to identify uneven wear patterns.
OBD-II scanner
Reads stored and pending fault codes from the vehicle's computer that may not trigger a visible warning light.
Vehicle history report service
Provides documented title history, accident records, odometer data, and ownership chain for the specific VIN.
Independent mechanic
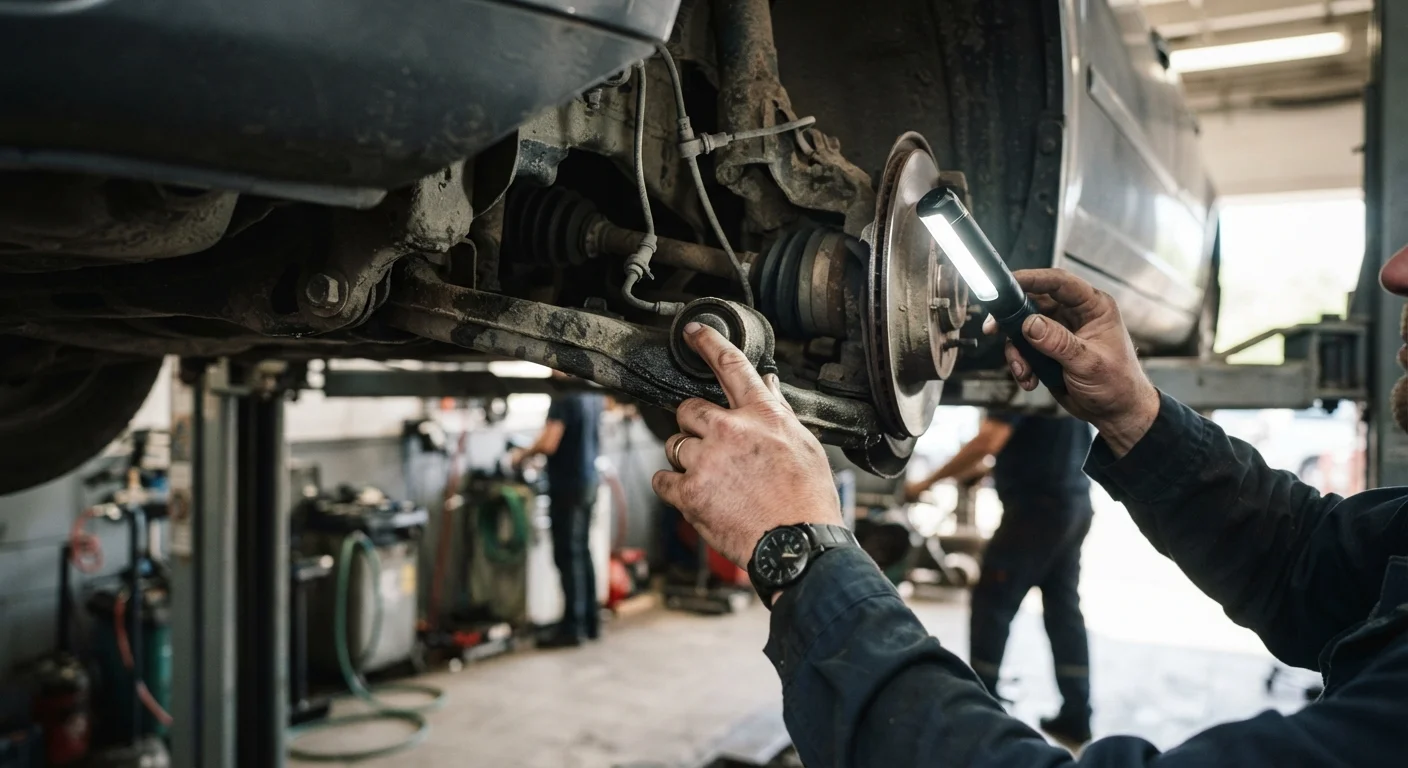
Conducts a professional pre-purchase inspection of mechanical systems, frame, and undercarriage for issues beyond a visual check.
How to Use This Checklist
Work through the groups in order. Start with documentation before you ever open the hood — a title problem or salvage brand ends the evaluation immediately. Move to the exterior and interior visual check, then the under-hood and mechanical review, and finally the road test. Flag each item as pass, concern, or fail. Any "fail" on a must-item warrants either a price renegotiation or walking away.
Bring a flashlight, a small mirror, a magnet (to detect hidden body filler), and a tire tread depth gauge. These cost under $20 combined and make the difference between a surface glance and a meaningful inspection.
Salvage and Rebuilt Titles Require Extra Caution
A salvage or rebuilt title means the vehicle was previously declared a total loss by an insurer. These vehicles may be roadworthy, but they carry significant risks: reduced resale value, difficulty obtaining full insurance coverage, and potential structural issues that even a professional inspection may not fully surface. If the VIN history shows a salvage brand, factor those limitations into your decision — they don't automatically disqualify the vehicle, but the price and your risk tolerance must account for them.
This checklist is general educational guidance. It is not a substitute for a professional mechanical inspection by a licensed technician. For any vehicle you're seriously considering, schedule an independent PPI before signing a purchase agreement. Also review your paperwork carefully — our finance paperwork verification checklist covers that final step in detail.
Documentation & History
Exterior Condition
Interior Condition
Under the Hood
Road Test
Professional Inspection
After the Inspection: Next Steps
Once you've completed your walkthrough and received the mechanic's report, you have a clear picture of the vehicle's true condition. Document every deficiency — in writing, with photos if possible — and use that list as your negotiating basis. Repairs the seller won't make become dollar amounts you deduct from the asking price, or they become your reason to move on.
If this vehicle passes inspection and fits your financial profile, revisit the broader context of your decision. Our new vs. used decision framework can help confirm you've weighed depreciation, total ownership cost, and reliability data correctly before committing. And if you're heading to a dealership to close the deal, what to research before you walk in will make sure you arrive prepared on pricing, not just condition.
Don't Skip the Independent Inspection
Sellers — including dealers — may pressure you to decide quickly or suggest their own mechanic for the inspection. Always use an independent shop with no financial relationship to the seller. A $100–$200 inspection fee is a small cost compared to the repair bills that can emerge from a vehicle with undisclosed mechanical problems.