Why DIY Makes Financial Sense
For most home improvement tasks, labor accounts for the majority of a professional's invoice - often 50% or more of the total cost. When you handle that labor yourself, you pay only for materials. A room that costs $800-$1,200 to have professionally painted might cost $150-$250 in paint, rollers, and tape when you do it yourself.
Those savings are real, but the financial benefit goes further. Every skill you develop reduces your dependence on service calls for routine maintenance. Knowing how to caulk a window, replace a faucet aerator, or patch a small hole means fewer calls and lower annual home upkeep costs.
If you're tracking your household spending carefully, redirecting contractor costs to a savings buffer is a natural next step. Our guide to building your first budget can help you identify where those savings fit into your broader financial picture.
Track Your DIY Savings Over Time
After each completed project, note what a professional quote would have cost versus what you spent on materials. Over a year, this running total shows the tangible return on your tool investment and motivates continued skill-building.
Choosing the Right First Project
The ideal beginner project is low-risk, visually rewarding, and completable in a weekend. Painting a single room is a classic starting point - it requires no structural knowledge, mistakes are fixable, and the visual payoff is immediate. Other strong options include:
- Replacing cabinet hardware (handles and knobs)
- Installing weatherstripping on drafty doors
- Patching small drywall holes with a pre-mixed compound
- Caulking around a bathtub or kitchen sink
- Hanging shelves with proper wall anchors
Avoid projects that overlap with systems work on your first attempt. Painting is forgiving; rewiring a light fixture is not. Before committing, read through our project preparation checklist to confirm you have everything in place before tools come out.
It's also worth knowing what common assumptions can get beginners into trouble. The DIY myths that lead homeowners astray are surprisingly pervasive and worth reading before you start.
Tools Every Beginner Should Own
Load-bearing wall
A wall that supports the weight of the structure above it. Removing or altering one without professional assessment can cause serious structural damage.
Stud
A vertical framing member inside a wall. Anchoring screws or nails into studs - rather than just drywall - is essential for safely hanging heavy objects.
Permit
Official approval from your local government to perform certain types of construction or renovation work. Permits ensure work is inspected and meets safety codes.
Caulk
A flexible sealant applied along gaps and joints (such as around a tub or window frame) to block water infiltration and air leaks.
Drywall compound
A paste-like material used to fill holes, seams, and imperfections in drywall walls before painting. Often called 'mud' by contractors.
Weatherstripping
Sealing material applied around doors and windows to block drafts and reduce energy loss - one of the most cost-effective DIY improvements available.
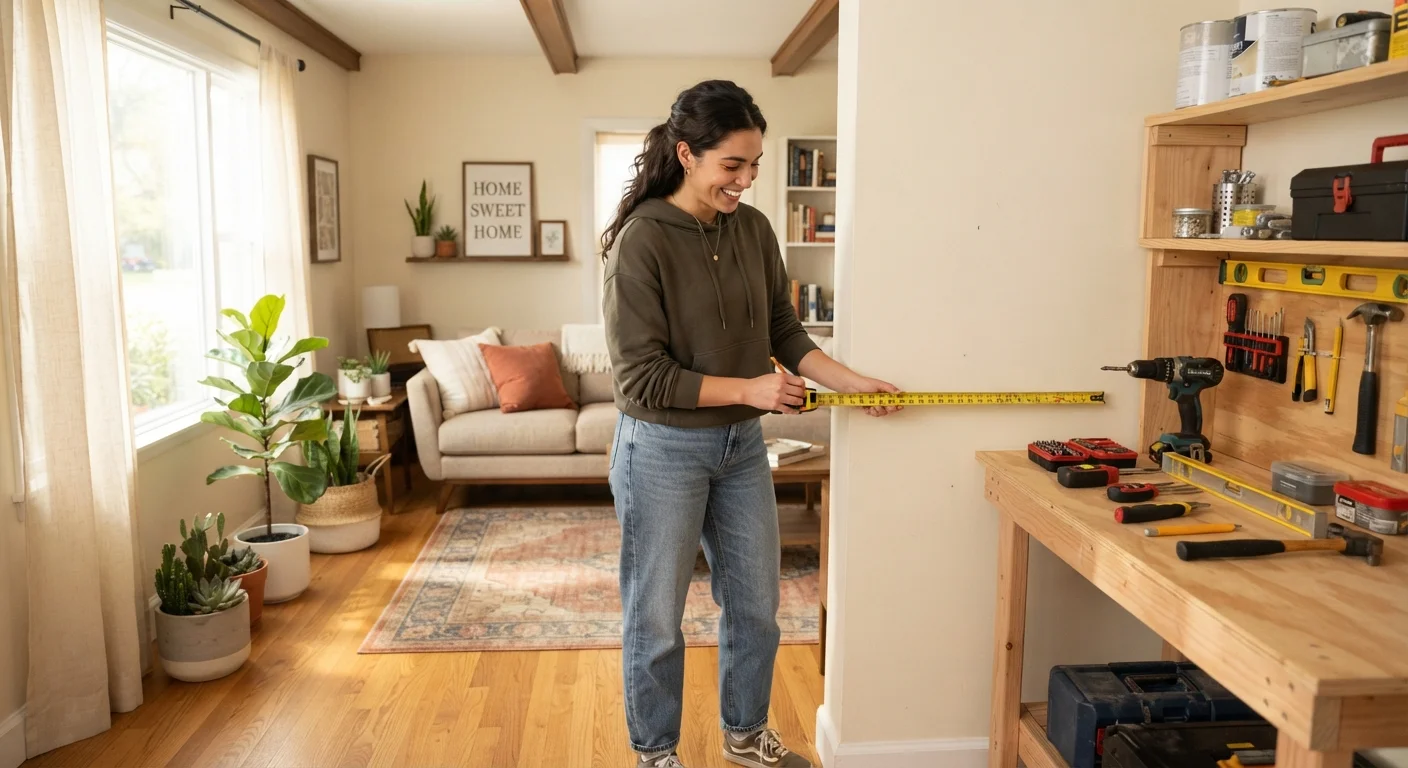
You don't need a fully stocked workshop to handle most beginner projects. A focused starter toolkit covers the vast majority of tasks you'll encounter in your first year of DIY:
- Tape measure - 25-foot length handles most interior work
- Cordless drill/driver - the single most versatile tool a homeowner can own
- Level - prevents crooked shelves and lopsided frames
- Hammer - a 16-oz. claw hammer covers general use
- Utility knife - useful for drywall, caulk removal, and more
- Screwdriver set - flathead and Phillips in multiple sizes
Buying quality over quantity matters. A reliable tape measure and drill will outlast cheap versions many times over. A basic kit assembled thoughtfully typically runs $150-$250 and pays for itself on your first project.
Safety, Permits, and Knowing Your Limits
Safety isn't a formality - it's the difference between a successful project and an emergency. Two non-negotiable habits for every project: wear eye protection when drilling or cutting, and always locate utilities (electrical, plumbing, gas lines) before opening any wall or drilling into a surface.
Certain work is regulated for good reason. In most U.S. jurisdictions, projects involving electrical panels or wiring, gas lines, load-bearing walls, roofing, and main plumbing connections require permits and licensed contractors. Unpermitted work can void homeowners insurance, complicate future sales, and - most importantly - create hazards you won't discover until something goes wrong.
If you're uncertain about whether a project requires a permit, contact your local building department before starting. That conversation costs nothing and could save you from significant legal or financial exposure later.
Setting Realistic Expectations
First-time DIYers commonly underestimate time and overestimate how smooth results will look on the first attempt. A room repaint that looks straightforward in a tutorial video may take a full weekend when you factor in prep, drying time between coats, and cleanup. That's normal. Our guide to common painting mistakes walks through the most frequent missteps so you can sidestep them early.
Skill compounds with practice. Your second project will go faster than your first, and your fifth will feel almost routine. The goal of that initial project isn't perfection - it's learning the process, understanding your tools, and building the confidence to take on more.
If organization is also on your agenda, many first-time DIYers find that decluttering and optimizing their space pairs naturally with home improvement work. Our small-space organization starting point covers that complementary territory for compact homes.
Start small, stay safe, and let each project teach you something for the next one. That's the sustainable path to a well-maintained home - and a lighter contractor budget.