Why Preparation Comes Before Any Tool
Most DIY projects don't fail during the work itself - they fail in the days before a single nail is driven. Homeowners discover mid-project that they're missing a critical tool, underestimated material costs, or unknowingly started work that required a permit. These are expensive and avoidable surprises.
This checklist is designed to close those gaps. Whether you're painting a room, replacing flooring, or tackling a bathroom refresh, running through these steps first keeps your project on budget and on schedule. If you're brand new to home improvement, our practical starting-point guide for first-time DIYers covers the fundamentals worth reading alongside this checklist.
It's also worth understanding which widely held beliefs can steer you wrong - common DIY myths often lead homeowners toward unsafe shortcuts or skipped steps that preparation would have caught.
Project Definition
Budget and Costs
Tools and Materials
Safety and Site Preparation
Scheduling and Contingencies
Tools, Materials, and When to Call a Pro
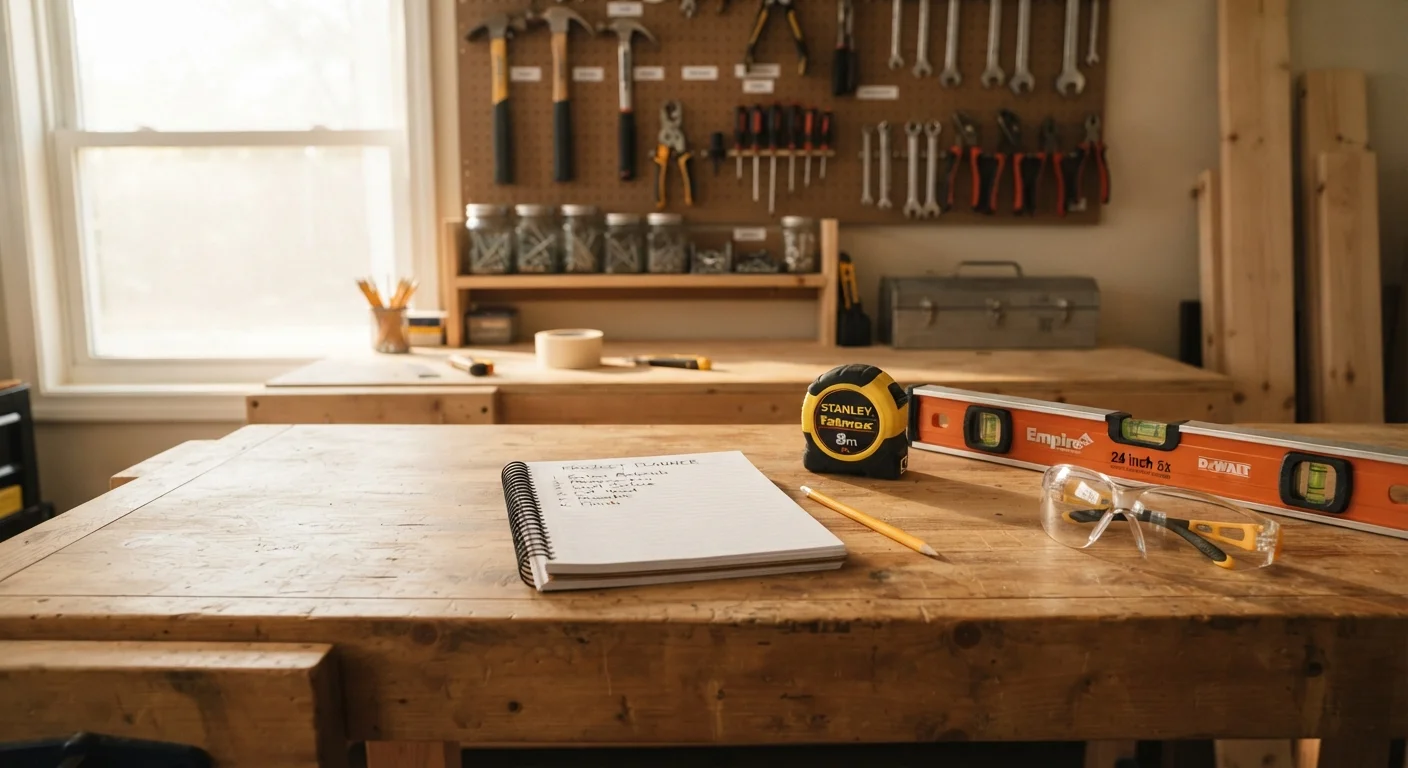
One of the most underestimated parts of preparation is tool inventory. A project stalled because you're waiting for a rented tool or a back-ordered part is a project that costs more than planned - in time and often in money.
Tape measure
Take accurate room and surface measurements to calculate material quantities correctly.
Level
Ensure surfaces, shelving, tile, and fixtures are properly aligned during installation.
Safety glasses and work gloves
Protect eyes and hands from debris, dust, and sharp materials throughout the project.
Stud finder
Locate wall studs before hanging heavy items or making wall penetrations.
Utility knife
Score, cut, and trim a wide range of materials including drywall, flooring underlayment, and packaging.
Dust mask (N95 or equivalent)
Protect against fine dust particles when sanding, cutting drywall, or working with older materials.
Tool rental account
Access specialized equipment - tile saws, floor sanders, air compressors - without purchasing tools used infrequently.
Project notebook or planning app
Track measurements, material lists, costs, and task progress in one organized place.
On the materials side, over-buying is almost always smarter than under-buying. Flooring, tile, and paint batches can vary between production runs. Buy 10% more than your measured estimate to account for cuts, waste, and touch-ups.
Permits Are Not Optional - Check First
Many homeowners assume small projects don't need permits, but local codes vary widely. Work done without a required permit can trigger fines, complicate future home sales, and - in the case of electrical or structural work - create serious safety hazards. Always contact your local building or permitting office before starting any project that involves structural changes, electrical circuits, plumbing connections, or HVAC modifications. This is not a step to skip in the interest of saving time.
Finally, preparation means being honest about scope. Electrical panel work, gas line modifications, structural changes, and whole-house plumbing are categories where local codes typically require licensed contractors and permits - not because the work is impossible to understand, but because errors carry serious safety and legal consequences. Preparation means knowing your project's category before you start, not halfway through.
For finishing work like painting - which appears simple but has real technique nuances - skipping small prep steps causes outsized problems. For example, skipping primer before paint often means repainting far sooner than expected, and painting mistakes are easier to make than most homeowners realize.
Older Homes May Contain Hazardous Materials
Homes built before 1980 may contain lead paint or asbestos in insulation, flooring, or joint compound. Disturbing these materials during renovation can release harmful particles. If your home falls in this age range, consider professional testing before any demo or sanding work. Do not sand or scrape surfaces you suspect may contain lead paint without proper precautions and guidance from your local health department.