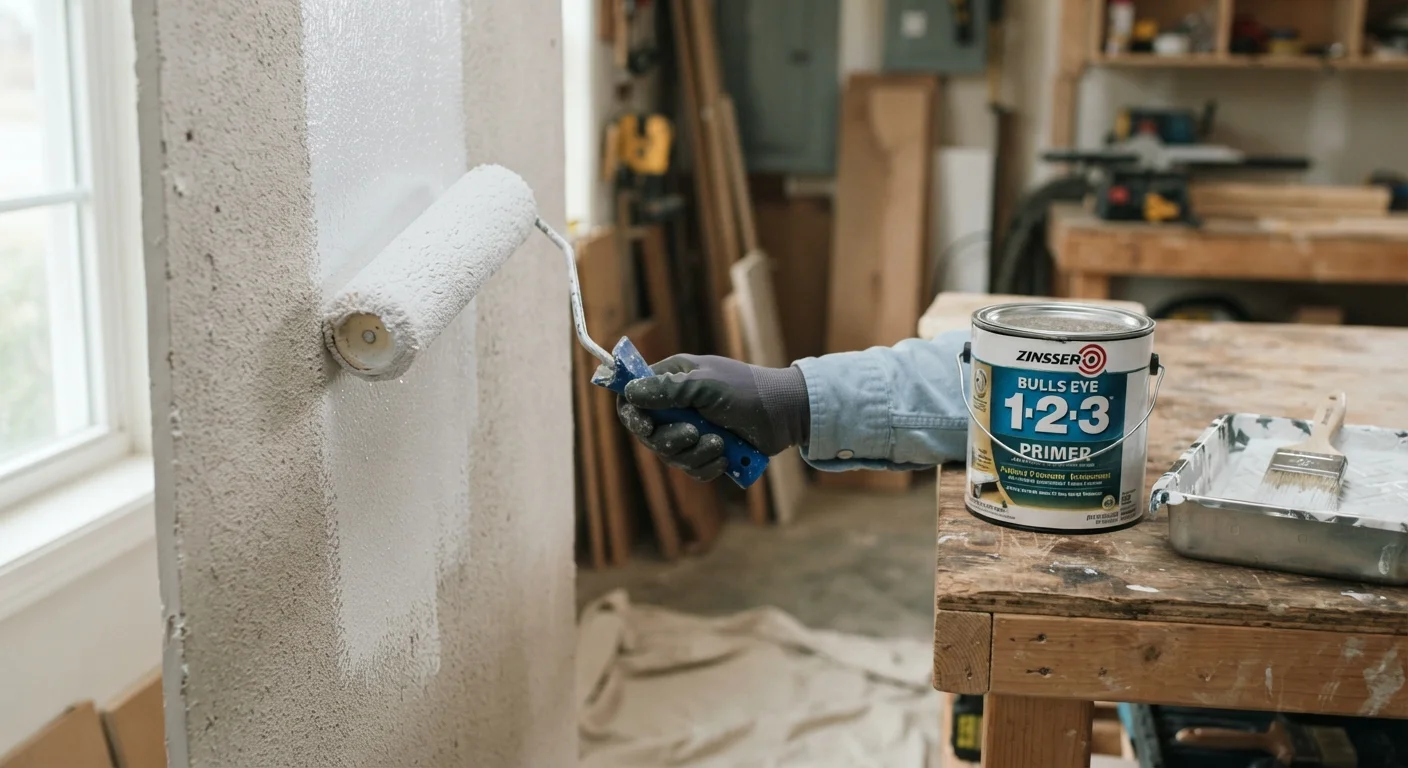
Why Primer Matters More Than Most DIYers Think
Primer isn't a luxury step - it's the foundation that determines how your finished paint job looks, holds up, and how long it lasts. Yet it's the step most commonly cut when homeowners are pressed for time or trying to stretch a budget. The irony is that skipping primer usually costs more, not less, over the life of a paint job.
Paint is formulated to adhere to a prepared, sealed surface. When it's applied directly to bare drywall, raw wood, or a stained wall, it behaves unpredictably - absorbing unevenly, pulling away at edges, or allowing underlying stains to bleed through. The result is a finish that looks poor and degrades faster. As part of a realistic DIY budget, it's worth understanding where prep costs pay off - see our guide on what home improvement projects actually cost vs. what they return for broader context.
Primer serves three core functions: it seals porous surfaces so paint doesn't soak in excessively, it improves adhesion so paint bonds firmly, and it provides a uniform base color so topcoats cover more consistently. Each of these functions directly affects how many coats of finish paint you'll need - and how long before you're painting again.
2-3x
Extra paint coats needed without primer
Painting industry guidance consistently notes that unprimed surfaces - particularly raw drywall - require significantly more finish coats to achieve even coverage.
$30-$60
Typical cost of a gallon of quality primer
A single gallon of primer covering 300-400 sq ft often costs less than one additional gallon of finish paint, making it cost-effective on most room-sized projects.
Common Primer Mistakes - and How to Avoid Them
Most primer-related failures come down to predictable missteps: using the wrong product, applying it incorrectly, or skipping it in situations where it's genuinely necessary. Understanding these patterns helps you make smarter decisions before you open a can. For a broader look at painting prep errors, what homeowners get wrong about painting their own walls covers the full range of issues to watch out for.
Skipping primer on bare or newly patched drywall.
Why it happens: Homeowners assume a first coat of paint will absorb evenly, or they want to finish the job in a single day.
Using the wrong primer type for the surface or paint being applied.
Why it happens: Many DIYers buy whatever primer is on the shelf without checking whether it's oil-based, latex, or shellac-based - and whether it's compatible with their topcoat.
Applying primer over dirty, greasy, or glossy surfaces without cleaning or sanding first.
Why it happens: Primer is seen as a fix-all preparatory layer, so proper surface prep is overlooked entirely.
Applying primer too thinly to save time or material.
Why it happens: DIYers stretch primer coverage to reduce cost, or apply it too quickly before the previous coat is checked for coverage.
Skipping primer when painting over a dramatically different color.
Why it happens: With high-quality paint available today, many assume a bold color change can be handled with extra paint coats alone.
Self-Priming Paint Is Not Always a Substitute
Products labeled 'paint and primer in one' are designed for surfaces already in good condition - clean, sealed, and previously painted. On bare drywall, bare wood, patched areas, or stained surfaces, these products often perform like standard paint. Using them as a true primer replacement on problem surfaces is one of the most common causes of early paint failure in DIY projects.
If you're new to DIY painting, these aren't abstract concerns - they're the practical obstacles that separate a durable result from a job that needs redoing within a year or two. Before picking up any tools, review a preparation checklist to confirm your surface and materials are ready.
Stains and Tannins Bleed Through Paint
Water stains, smoke damage, and wood tannins are among the most common causes of paint failure on walls and trim. Standard latex paint will not seal these - they will bleed through even multiple topcoats. A shellac-based or stain-blocking primer is required before applying finish paint in these situations. Skipping this step typically means stripping and repainting the entire surface.
Making the Right Call on Primer for Your Project
Not every project demands the same primer approach. Interior latex primer over previously painted, clean drywall in good condition is straightforward. Bare wood trim, a bathroom ceiling with moisture exposure, or a wall with old water damage each require a different product and more deliberate prep work.
When in doubt, read the topcoat paint's technical data sheet - most manufacturers specify which primer types are compatible and which surfaces require a dedicated primer coat. This information is usually available on the manufacturer's website or on the paint can label itself.
For first-time DIYers, primer selection can feel overwhelming. A useful starting framework: if the surface is bare, stained, patched, or dramatically different in color from your topcoat, use a dedicated primer. If you're recoating a clean, previously painted wall in a similar color, a quality paint-and-primer product may be adequate. When you're unsure about scope or complexity, weigh whether to hire a contractor or do it yourself before committing to a large surface area. Taking the extra hour to prime correctly is almost always the decision you'll be glad you made.