Why Small Gaps Add Up to Big Energy Losses
Most homeowners think about insulation when they hear "energy efficiency," but the gaps you can actually see - around window frames, door edges, and wall penetrations - are often responsible for a surprising share of conditioned air escaping your home. When warm air leaks out in winter (or cool air escapes in summer), your heating and cooling system has to work harder and run longer to compensate.
The good news is that air sealing is among the most accessible DIY home improvement projects available. The materials are widely available at hardware stores, the process requires no specialized skills, and total supply costs for a typical home often run under $50. Just as small spending habits quietly drain a budget, small air leaks quietly drain your energy dollars - and fixing them follows a similar logic: address the source, not just the symptom.
Start With the Worst Offenders
If you have limited time, prioritize exterior doors and large windows on north- or wind-facing walls first. These tend to produce the most noticeable drafts and offer the quickest comfort improvement. You can work through remaining windows and secondary doors over a weekend.
What You'll Need Before You Start
Gather your tools and materials before inspecting your home. Having everything on hand makes it easier to seal gaps as you find them rather than losing momentum.
What you will need
Caulk gun
Holds and dispenses a tube of caulk smoothly and with consistent pressure.
Paintable latex or silicone caulk
Fills and seals stationary cracks and gaps around window and door frames.
Foam weatherstripping tape
Compresses against moving surfaces like window sashes to block drafts.
V-strip (tension seal) weatherstripping
Creates a durable, lasting seal along door jambs and window channels.
Door sweep
Seals the gap between the bottom of a door and the threshold.
Putty knife or caulk removal tool
Removes old, deteriorated caulk before applying a fresh bead.
Rubbing alcohol and clean rags
Cleans and degreases surfaces so caulk and adhesive weatherstripping bond correctly.
How to Find Air Leaks
Before you seal anything, you need to know where the leaks are. Focus your inspection on the most common culprits: the perimeter of window and door frames where they meet the wall, the bottom of exterior doors, sliding door tracks, and any spot where a pipe, wire, or vent penetrates an exterior wall.
On a windy day, hold the back of your hand near these areas - your skin is sensitive enough to detect even modest drafts. You can also hold a lit incense stick near suspect spots; the smoke will waver visibly if air is moving. Cracked or missing caulk is usually easy to spot by sight, especially on painted surfaces where the paint has pulled away. Check your findings against the common DIY myths that lead homeowners astray - for instance, some homeowners assume gaps under interior doors are the main issue, when exterior door seals are typically far more consequential.
Avoid Sealing Areas That Need Ventilation
Not every gap should be caulked. Never seal combustion air vents, dryer exhaust openings, bathroom exhaust fan terminations, or any opening specifically designed to allow airflow to mechanical equipment. Sealing these can create dangerous conditions. If you are unsure whether a gap is intentional, consult a qualified professional before sealing it.
Step-by-Step: Caulking, Sealing, and Weatherstripping
Work through each location methodically. Stationary gaps - such as where a window frame meets exterior siding or where a door frame meets drywall - call for caulk. Moving gaps - door edges, operable window sashes - call for weatherstripping or door sweeps.
Remove old, deteriorated caulk
Use a putty knife or a dedicated caulk removal tool to scrape away any existing caulk that is cracked, brittle, or pulling away from the surface. Take your time and remove as much as possible - new caulk applied over old, failed caulk will not bond well and will fail again quickly.
Clean and dry the surface
Wipe the area with rubbing alcohol on a clean rag and let it dry completely. Dust, grease, and moisture are the primary reasons fresh caulk fails prematurely. Give the surface at least 10-15 minutes to dry before applying caulk.
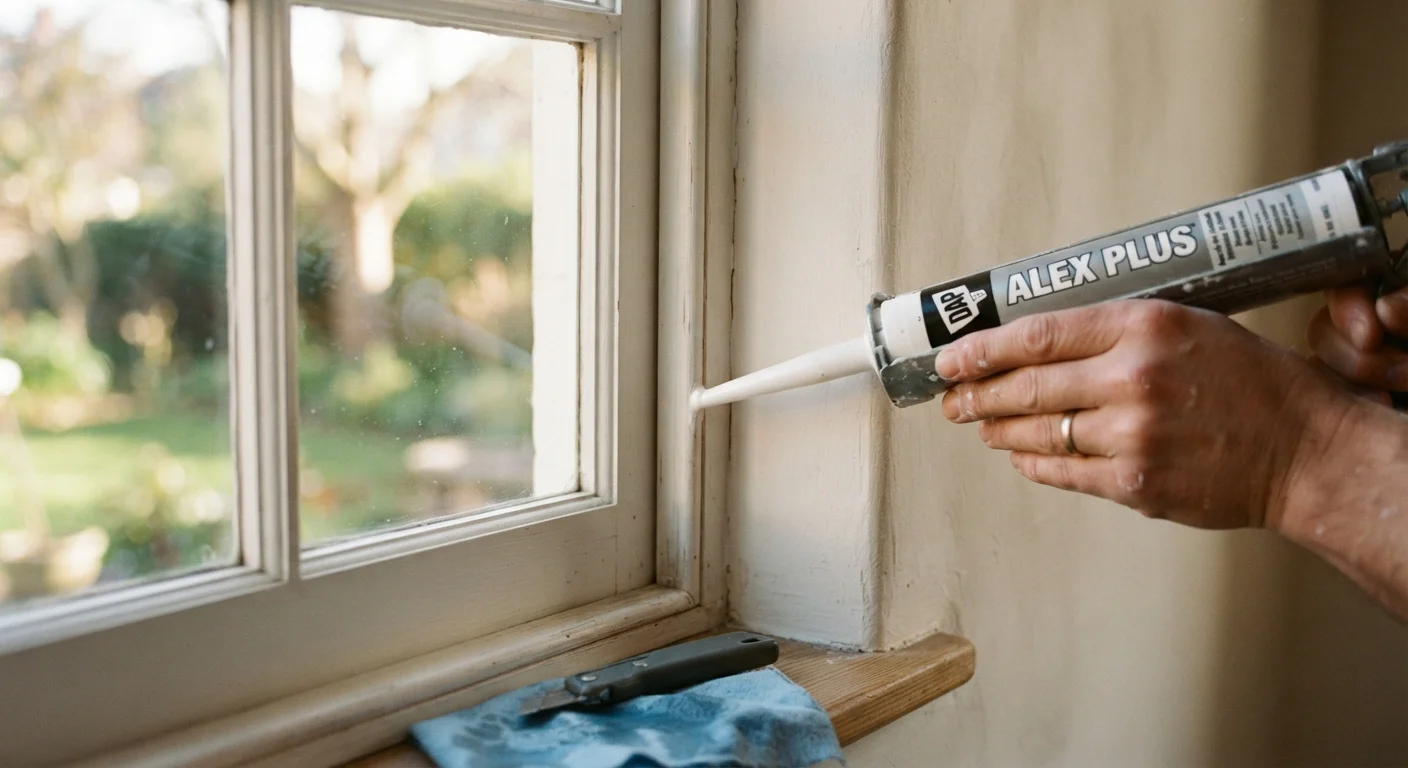
Apply a steady bead of caulk
Cut the caulk tube tip at a 45-degree angle to create a small opening - roughly 3/16 of an inch is a good starting point for most window and door gaps. Hold the caulk gun at a consistent angle and move at an even pace, drawing the tip along the gap as you squeeze the trigger. Aim to fill the gap in one continuous pass rather than multiple short beads.
Smooth the caulk bead
Within a minute or two of applying the bead (before a skin forms), use a damp fingertip or a caulk smoothing tool to press the caulk firmly into the gap and create a clean, slightly concave surface. This improves both adhesion and appearance. Wipe away any excess with a damp cloth.
Install weatherstripping on door frames
Measure the height of each door jamb side and cut your chosen weatherstripping (foam tape or V-strip) to length with scissors or tin snips. For foam tape, peel the backing and press firmly onto the door stop - the part of the frame that the door closes against. For V-strip, align the folded edge with the frame edge and tack or press into place per manufacturer instructions. Close the door to confirm you feel compression without the door binding.
Add or replace the door sweep
Hold the door sweep against the inside bottom of the door with the sweep material just touching the threshold when the door is closed. Mark the screw holes with a pencil, pre-drill if needed, and fasten the sweep with the included screws. Check that the sweep clears the floor when swinging open and seals flush when closed.
Choosing the Right Material for Each Gap
Not all caulks and weatherstripping are created equal, and choosing the wrong type is a common reason seals fail prematurely. Paintable latex caulk is a reasonable choice for interior gaps where you want a neat finish. Silicone caulk is more flexible and moisture-resistant, making it the better option around windows in wet climates or bathroom-adjacent walls. For door bottoms, automatic door sweeps (which lift slightly when the door opens) tend to last longer than basic stick-on foam strips.
Foam tape weatherstripping works well on double-hung window sashes and is easy to install. V-strip (tension seal) weatherstripping is more durable and suits door frames where the gap size is fairly consistent. If you're motivated by the same cost-consciousness that drives projects like low-cost curb appeal improvements, prioritize silicone and V-strip materials - they cost a little more upfront but last significantly longer than foam alternatives.
Keeping Your Seals in Good Shape Long-Term
Caulk and weatherstripping don't last forever. Plan to do a quick visual inspection each fall before heating season and each spring before you run cooling consistently. Look for caulk that has cracked, pulled away, or turned brittle, and weatherstripping that has compressed flat or torn. Replacing worn sections takes only minutes when you catch them early.
Air sealing pairs well with other whole-home efficiency thinking - treating your home as a system rather than a collection of isolated problems. A home that retains conditioned air more effectively is simply less expensive to operate month over month, and that compounds over years of ownership.