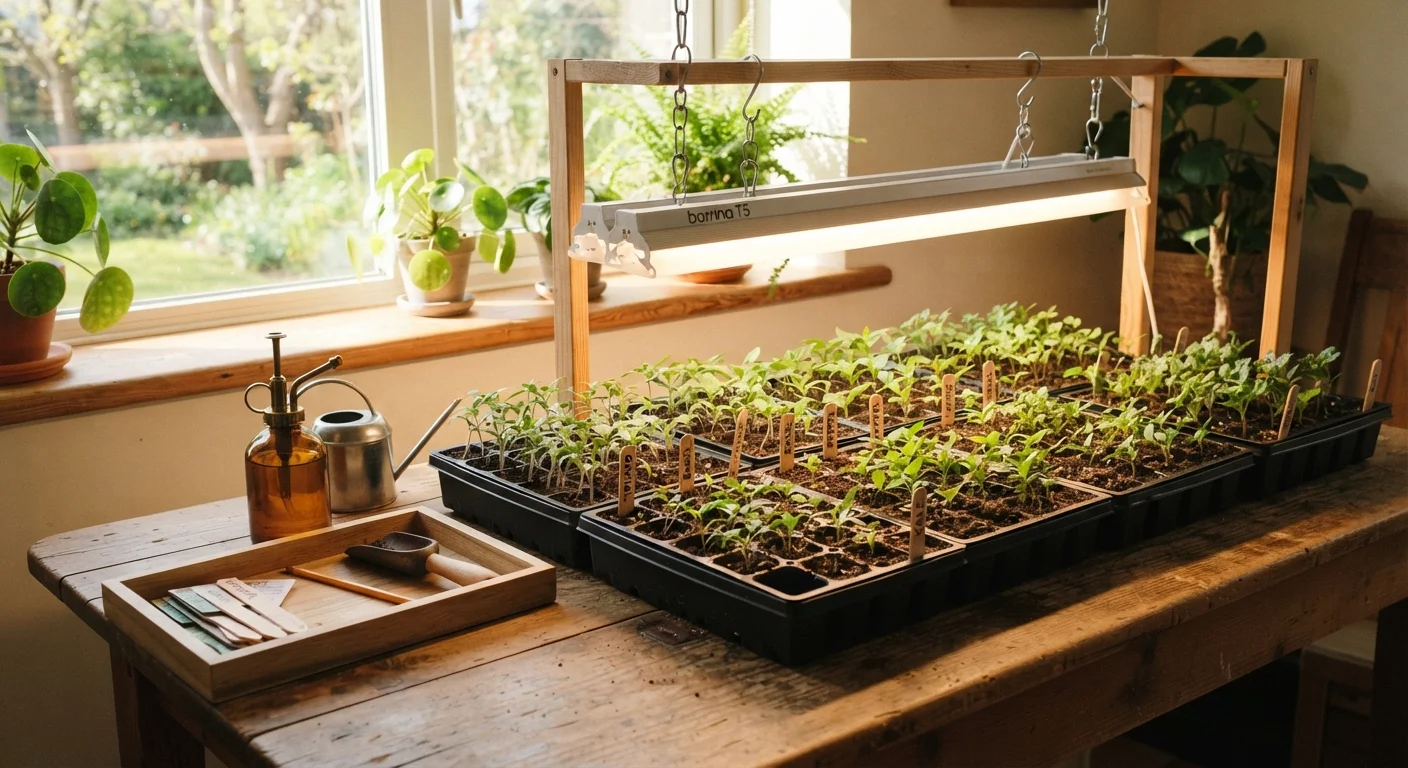
Why Indoor Seed Starting Makes Financial Sense
A single packet of seeds typically yields dozens of plants for a fraction of what you'd spend on nursery transplants. For anyone building or expanding a productive food garden, starting from seed is one of the highest-leverage cost reductions available. The savings multiply when you consider that many seed varieties-particularly heirloom types-are rarely available as transplants at all.
Beyond cost, starting indoors gives you control over variety selection, growing conditions, and timing. If you're planning a larger planting area, our guide to container vs. in-ground gardening can help you decide what kind of space to grow into. And once seedlings are in the ground, protecting soil health with proper mulching techniques extends your investment further.
Reuse Household Containers to Cut Costs
Yogurt cups, egg cartons, and clear deli containers all work as seed-starting vessels-just poke drainage holes in the bottom. This aligns well with the cost-saving philosophy behind starting a vegetable garden on a budget. Wash containers with a diluted bleach rinse before use to eliminate any lingering pathogens.
Before you start, gather everything listed below so the process runs smoothly from germination through transplanting.
What you will need
Seed-Starting Mix
Provides a sterile, fine-textured, well-draining medium that supports germination without compacting around delicate roots.
Seedling Heat Mat
Warms the growing medium to the 70-80°F range that speeds germination for warm-season crops like tomatoes and peppers.
Grow Lights (LED or fluorescent T5)
Supplies consistent, close-range light when winter window light is too weak or inconsistent to grow compact, healthy seedlings.
Plastic Humidity Dome
Retains moisture around seeds during germination, reducing the need for frequent misting before sprouts emerge.
Plant Labels and Permanent Marker
Keeps varieties clearly identified in crowded trays so plants are not confused at transplant time.
Small Fan
Provides gentle air circulation that strengthens seedling stems and reduces the humidity conditions that promote fungal disease.
Step-by-Step: From Seed Packet to Garden-Ready Transplant
Follow these steps in order. Each stage builds on the last, and shortcuts taken early-especially with timing, light, and watering-compound into problems that are hard to reverse later.
Calculate Your Seed-Starting Date
Pull out your seed packets and note the "weeks before last frost" recommendation printed on each one. Then look up your area's average last frost date-your local cooperative extension office is the most reliable source. Count backward from that date by the number of weeks specified.
For example, tomatoes typically need 6-8 weeks indoors. If your last frost date is May 1, start tomato seeds between early and mid-March. Crops like lettuce and kale tolerate frost and can be started 4-6 weeks out. Keeping a simple calendar or spreadsheet prevents over-crowding your setup with plants that mature unevenly.
Prepare Clean Containers and Fill with Seed-Starting Mix
Fill containers to within half an inch of the rim with a pre-moistened seed-starting mix-not garden soil, which compacts and can introduce disease. Squeeze a handful: it should hold its shape but release only a few drops of water. Label each cell or container before sowing so varieties don't get confused.
Sow Seeds at the Correct Depth
A general rule is to sow seeds at a depth equal to twice their diameter. Tiny seeds like basil or lettuce should be barely pressed onto the surface and covered with a fine dusting of mix. Larger seeds like squash or cucumbers go about half an inch deep. Place 2-3 seeds per cell to account for germination variability; you'll thin to one seedling later.
Provide Warmth for Germination
Most vegetable seeds germinate best when the growing medium stays between 65-80°F. The top of a refrigerator, or a dedicated seedling heat mat, can provide bottom warmth. Cover trays with a humidity dome to retain heat and moisture. Check daily-once you see the first sprouts, remove the dome immediately to prevent fungal problems.
Set Up Adequate Lighting
After sprouts emerge, light becomes the most critical factor. A bright south-facing window may work in late spring but is often insufficient in late winter, when days are short and light angles are low. Position grow lights 2-4 inches above seedling tops and run them for 14-16 hours per day. Raise the fixture as plants grow to maintain that distance.
Leggy, pale seedlings with long gaps between leaf nodes are a clear sign of insufficient light-not a watering problem, despite how it might look.
Water Carefully and Consistently
Mist the surface with a spray bottle at germination, then transition to gentle bottom-watering once seedlings are established: pour water into the tray and let containers absorb from below for 20-30 minutes, then drain. Allow the top layer of mix to feel barely dry before the next watering. This encourages roots to grow downward and prevents the standing moisture that causes damping off.
[warning_callout]Thin Seedlings to One Per Cell
Once seedlings develop their first true leaves (the second set of leaves, which look like miniature versions of the mature plant), thin to the strongest one per cell. Use small scissors to snip extras at the soil line rather than pulling, which disturbs neighboring roots. Thinning feels wasteful but is essential-crowded seedlings compete for light and nutrients and rarely catch up to properly spaced ones.
Harden Off Before Transplanting
Beginning about 1-2 weeks before your intended transplant date, start moving seedlings outdoors for short periods each day. Start with 1-2 hours in a sheltered, shaded spot. Gradually increase sun exposure and time outdoors over 7-10 days until plants are spending full days outside. Bring them in if temperatures drop significantly or heavy wind or rain is expected.
[important_callout]Once your seedlings are in the ground and thriving, consider extending your edible garden with herbs. Our guide to growing herbs at home covers both windowsill and outdoor approaches that pair naturally with the vegetables you've just started. For more ways to stretch your gardening budget, see our full guide to starting a vegetable garden without overspending.