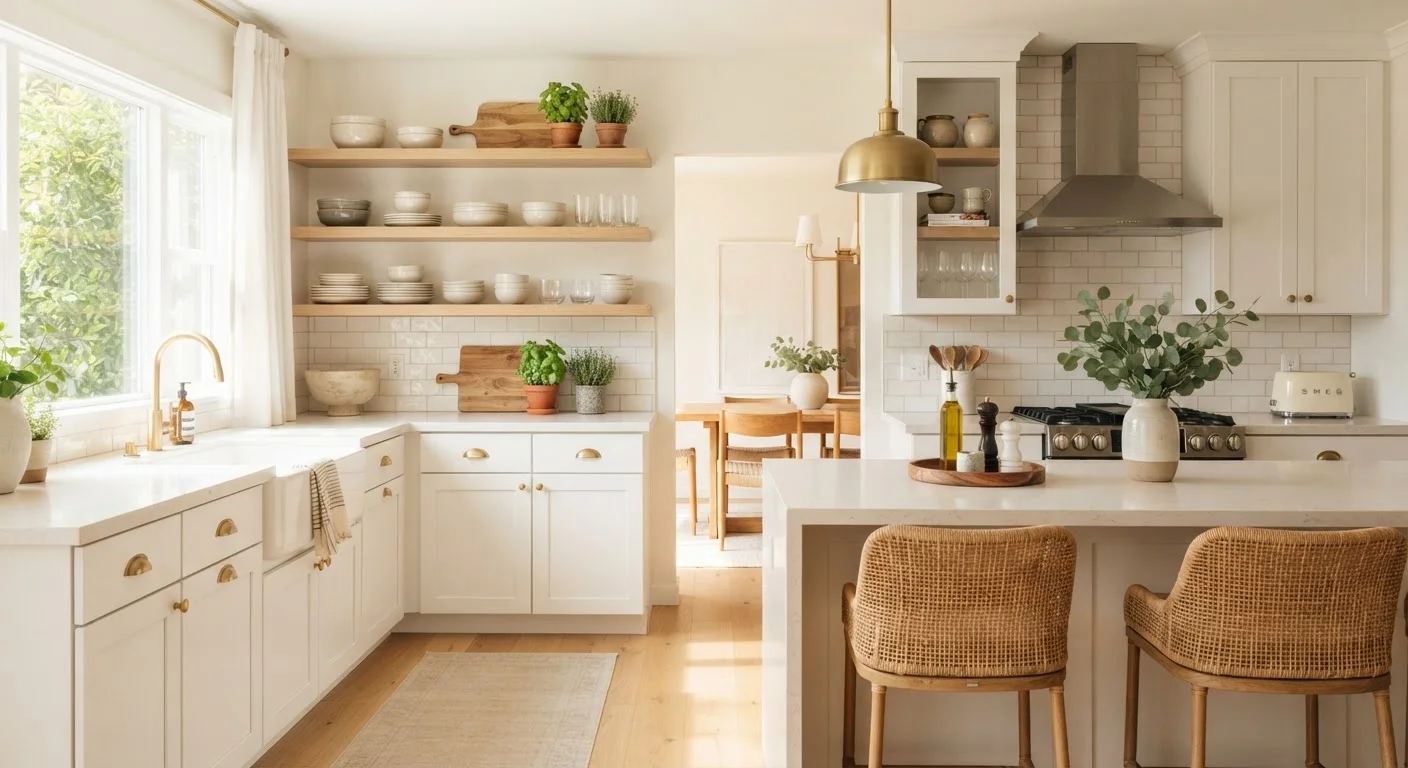
Why Update Instead of Replace
Full kitchen cabinet replacement is one of the more expensive renovation projects a homeowner can undertake, often running into thousands of dollars once materials, demolition, and installation are factored in. Yet in many kitchens, the cabinet boxes themselves - the structural carcasses fixed to the wall - are perfectly sound. What looks dated is usually the door style, the finish color, and the hardware.
That distinction matters because it means most of the visual work can be done without touching the boxes at all. Repainting, refacing, or simply replacing hardware addresses the surfaces people actually see. As with other repair-vs-replace decisions around the home - similar logic applies when weighing drywall repair versus full panel replacement - the right approach depends on what is structurally failing and what is only cosmetically tired.
Before committing to any method, inspect the cabinet boxes carefully. If frames are warped, drawer slides are broken, or particle-board boxes have swelled from water exposure, cosmetic updates will be limited in what they can achieve. For structurally sound cabinets with outdated looks, the projects below deliver meaningful results.
Test for Lead Paint Before Sanding
Cabinets in homes built before 1978 may contain lead-based paint. Before sanding or stripping any surfaces, use an inexpensive lead test kit available at hardware stores. If the test is positive, consult a certified lead-safe contractor rather than proceeding with DIY sanding, which can create hazardous dust.
What You'll Need
Gather your materials before starting - mid-project hardware store trips add hours to a job that already requires careful timing between coats. The list below covers a full repaint; adjust based on which updates you choose to tackle.
What you will need
Degreasing cleaner (TSP substitute or similar)
Removes grease and grime from cabinet surfaces so primer and paint adhere correctly.
Liquid deglosser or 120-150 grit sandpaper
Dulls the existing finish so the new primer bonds without excessive sanding.
Shellac-based or bonding primer
Seals the surface and provides a stable base for topcoat paint, especially on slick or stained wood.
Cabinet-specific alkyd or hybrid enamel paint
Provides a hard, washable finish that holds up to kitchen humidity and daily use.
Small foam roller and angled brush
Allows smooth, drip-free application on flat panels and detailed frame edges.
Screwdriver or drill with bits
Needed for removing doors, drawer fronts, and existing hardware.
Hardware template or drilling jig
Ensures new hardware holes are drilled in consistent, centered positions across all doors.
Glass cutter or glass insert kit
Used if converting solid upper cabinet doors to include glass panels.
Step-by-Step: Repainting Your Cabinet Boxes and Doors
Repainting is the highest-impact DIY cabinet update available to most homeowners. Done correctly, a painted finish on kitchen cabinets can last many years. The steps below cover the full process - preparation is where the work actually happens.
Label Everything Before You Remove It
Before removing any doors or drawer fronts, mark the inside corner of each piece with painter's tape and a number corresponding to its cabinet position. This saves significant time during reinstallation and prevents mismatched hinge alignments.
Remove doors, drawer fronts, and all hardware
Take off every cabinet door and drawer front using a screwdriver or drill. Remove all hinges, knobs, and pulls. Label each piece on the inside with painter's tape before it leaves its opening - this is especially important if your cabinets have varied sizes. Store screws in labeled zip-lock bags.
Clean all surfaces thoroughly with a degreaser
Mix your degreasing cleaner according to package directions and wipe down every surface you plan to paint - doors, drawer fronts, and cabinet box frames. Pay extra attention to the areas directly above the stove and around handles where grease builds up fastest. Rinse with clean water and allow surfaces to dry completely, at least one to two hours.
Lightly sand or degloss the existing finish
Use 120-150 grit sandpaper or a liquid deglosser to scuff the existing finish. You are not trying to strip the cabinet down to bare wood - just dulling the sheen so the primer has something to grip. Wipe away all dust with a tack cloth or slightly damp rag before moving on.
Apply a bonding primer to all surfaces
Apply a thin, even coat of shellac-based or bonding primer to cabinet boxes first, then doors and drawer fronts lying flat. Use a foam roller on large flat areas and an angled brush for edges and frames. Let the primer dry fully according to the manufacturer's time - typically two to four hours - before lightly sanding with 220-grit paper and wiping clean.
Paint with two coats of cabinet enamel
Apply your first topcoat using the same roller-and-brush method. Thin coats dry harder and smoother than thick ones. After the first coat is fully dry, lightly sand again with 220-grit paper, wipe away dust, and apply a second coat. Two coats of a quality cabinet enamel provide the washable, durable finish kitchens need.
Swap out hardware before rehinging doors
While doors are still off and paint is curing, install your new hardware on the doors and drawer fronts. If the new hardware uses different hole spacing than the old pieces, use a drilling jig to mark and drill new holes consistently. Fill old holes with wood filler and touch up with paint if they will be exposed. This is also the right moment to upgrade hinges to soft-close versions, which is typically a straightforward screw-in swap on frameless cabinets.
Rehang doors and reinstall drawer fronts
Allow paint to cure for at least 24 hours - ideally 48 - before rehinging doors. Cabinet enamel continues to harden after it feels dry to the touch, and hanging doors too soon can cause the paint to stick or scratch where it contacts the frame. Reinstall each door in its labeled position and adjust hinge screws for even gaps. Reattach drawer fronts with their original or new screws.
Other Updates Worth Considering
Repainting is not the only option. Depending on your cabinets and goals, these alternatives - alone or combined - can produce a noticeably refreshed kitchen.
Hardware Swap Only
If the existing paint or stain is in good condition, new hardware alone can shift the kitchen's style significantly. Replacing round knobs with bar pulls, or swapping brass for matte black, costs relatively little and takes an afternoon. It's one of the lower-effort updates mentioned in discussions of low-cost home improvements that punch above their price point.
Cabinet Refacing
Refacing means keeping the existing cabinet boxes while replacing only the doors, drawer fronts, and applying a thin veneer to the box faces. It costs more than painting but less than full replacement, and produces results closer to new cabinetry. It is worth considering when doors are warped or damaged but boxes are solid.
Open Shelving Conversion
Removing upper cabinet doors entirely - and potentially the face frame - creates open shelving that suits certain kitchen styles and makes the space feel larger. This works best when cabinets are already in good condition and the interior organization is manageable. For help keeping those open shelves and adjacent drawers tidy, see our guide to resolving kitchen drawer clutter.
Cabinet updates also have a reasonable track record as value-adding projects - a well-executed repaint or reface is the kind of weekend investment discussed in projects that deliver measurable returns when it comes time to sell or refinance.
Don't Skip the Degreasing Step
Kitchen cabinets accumulate cooking grease that is nearly invisible but will prevent paint and primer from bonding properly. Skipping thorough degreasing is the most common reason a painted cabinet finish peels within months. Use a dedicated degreasing cleaner, not just soap and water, before doing anything else.